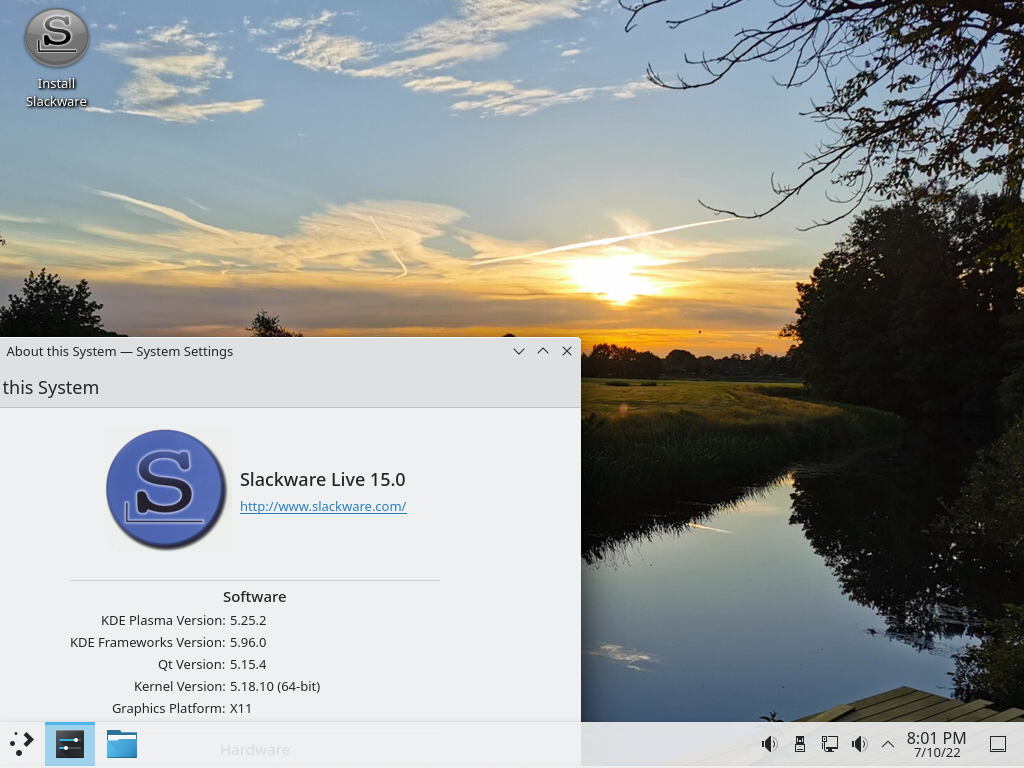
Updates in liveslak
Time flies. The last batch-release of Slackware Live ISO’s was almost 7 months ago.
I was burnt up by the time 2021 turned into 2022 and it took a long time for me to enjoy working on my projects again (and it’s still difficult), but I thought it might be appreciated to at least have a fresh set of ISOs for the Slackware Live Edition to play with during summer holidays.
It’s of course not entirely correct that there were no new ISOs for seven months… I have an automated process in place which re-creates a Live ISO of Slackware64-current every time there is an update to the ChangeLog.txt. It is meant to test every update and find issues to fix. There’s a European and a USA URL to download this ISO.
The various small issues that popped as a result software updates in Slackware-current, were fixed in the liveslak sources during these past months, and thanks to the people who reported to me the issues that they encountered!
These fixes went into ‘silent’ liveslak releases that were not mentioned in blog posts or other forms of communication: 1.5.1.5 to accompany the release of Slackware 15.0 (I tagged this to create the original Live ISO for Slackware 15.0) and then 1.5.2 was tagged a short while later to fix a few glaring errors in 1.5.1.5. Finally the 1.5.2 tag was meant to release a batch of ISOs in May, but I did not have the energy.
I now have tagged a liveslak-1.5.3 release with the latest updates.
Most important change in liveslak is that I decided to abandon the CDROM capacity limit (703 MB) of the XFCE ISO image size. This size limitation ensured that there would always be a version of Slackware Live Edition that you could burn to a good old CDROM medium.
What was the reason for this change of mind? When I generated a XFCE ISO last week, it was significantly larger than the 703 MB physical CDROM capacity, and I realized that I could not trim the ISO back to below 703 MB. There was simply no way to keep removing packages (read: functionality) from that ISO without penalty.
I do want the XFCE ISO to be functional and useful, so I decided on a new (somewhat arbitrary) size limitation for XFCE ISO, which is 1000 MB. It allowed me to add (back) a bunch of useful programs, most prominently Seamonkey is now gone, and it has been replaced by Firefox. If you have a need for yet more useful Slackware utilities that are missing from the XFCE ISO, leave a comment below.
If there is an interest, I may consider releasing a console-only Slackware Live ISO, which will again be a lot smaller than 700 MB and therefore able to be burnt to a CDROM. Basically this will be the standalone version of “Core OS” which you can already find in the boot menus of the DAW, LEAN and XFCE variants. Let me know your thoughts in the comments section!
The new liveslak also introduces an intermediate form of trimming the ISO content (I trim some ISOs to reduce size). Where before you’d have three increasingly severe forms of trimming “doc“, “mandoc” and “bloat“, there is now an additional form “waste” and its trimming effect lies somewhere between that of “mandoc” and “bloat“. The “waste” form of trimming is now applied to XFCE ISO instead of the old “bloat” form, and this leaves alot of libraries (dynamic and static) in the ISO image, which should make it more functional even.
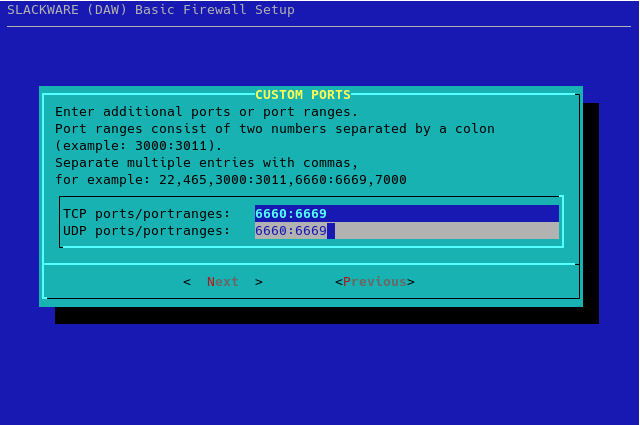
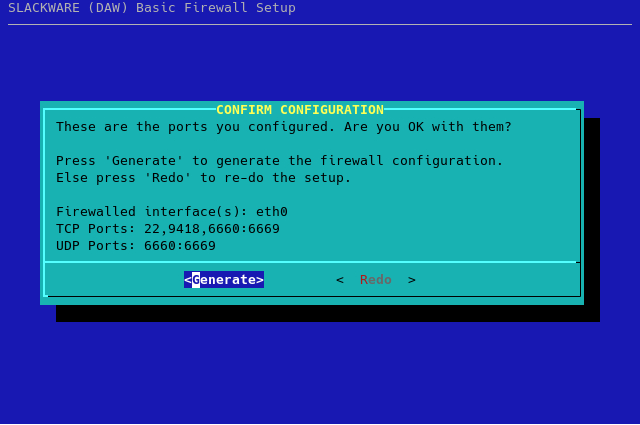
The new ISOs are available for download at the usual locations (see below for download URLs). You’ll find SLACKWARE (32bit/64bit), XFCE (32bit/64bit), DAW, LEAN, CINNAMON and MATE updated images. I refreshed the ‘bonus’ section with nvidia and broadcom-sta live-modules that contain kernel drivers matching the installed kernel; I also updated the multilib and wine modules and other useful stuff.
Slackware LEAN Live
A note about ISO sizes
Over time, the functionality of the Slackware distro has been expanding. More programs were added, and package sizes have been increasing (I barely know software developers that remove functionality – everybody just keeps adding stuff) . The ISO image for the full and unmodified Slackware is almost equal to the capacity of a physical DVD. The difference is only 30 Megabytes! This means, I will soon have to start trimming the Slackware Live ISO to stay below DVD capacity limit. That is unsettling and goes against what I think does justice to the distro. On the other hand, I assume that some people’s first experience with Slackware comes from burning a Live ISO to a DVD medium and booting their computer from the DVD.
Here as well, your thoughts are welcome: should I apply trim like with the XFCE ISO, or should I be selective in the package series that I add to the Live ISO?
Download Slackware Live Edition
You can find a set of new ISOs based on liveslak on my own servers: download.liveslak.org/latest/ in the Netherlands, or the US host us.liveslak.org/latest/ .
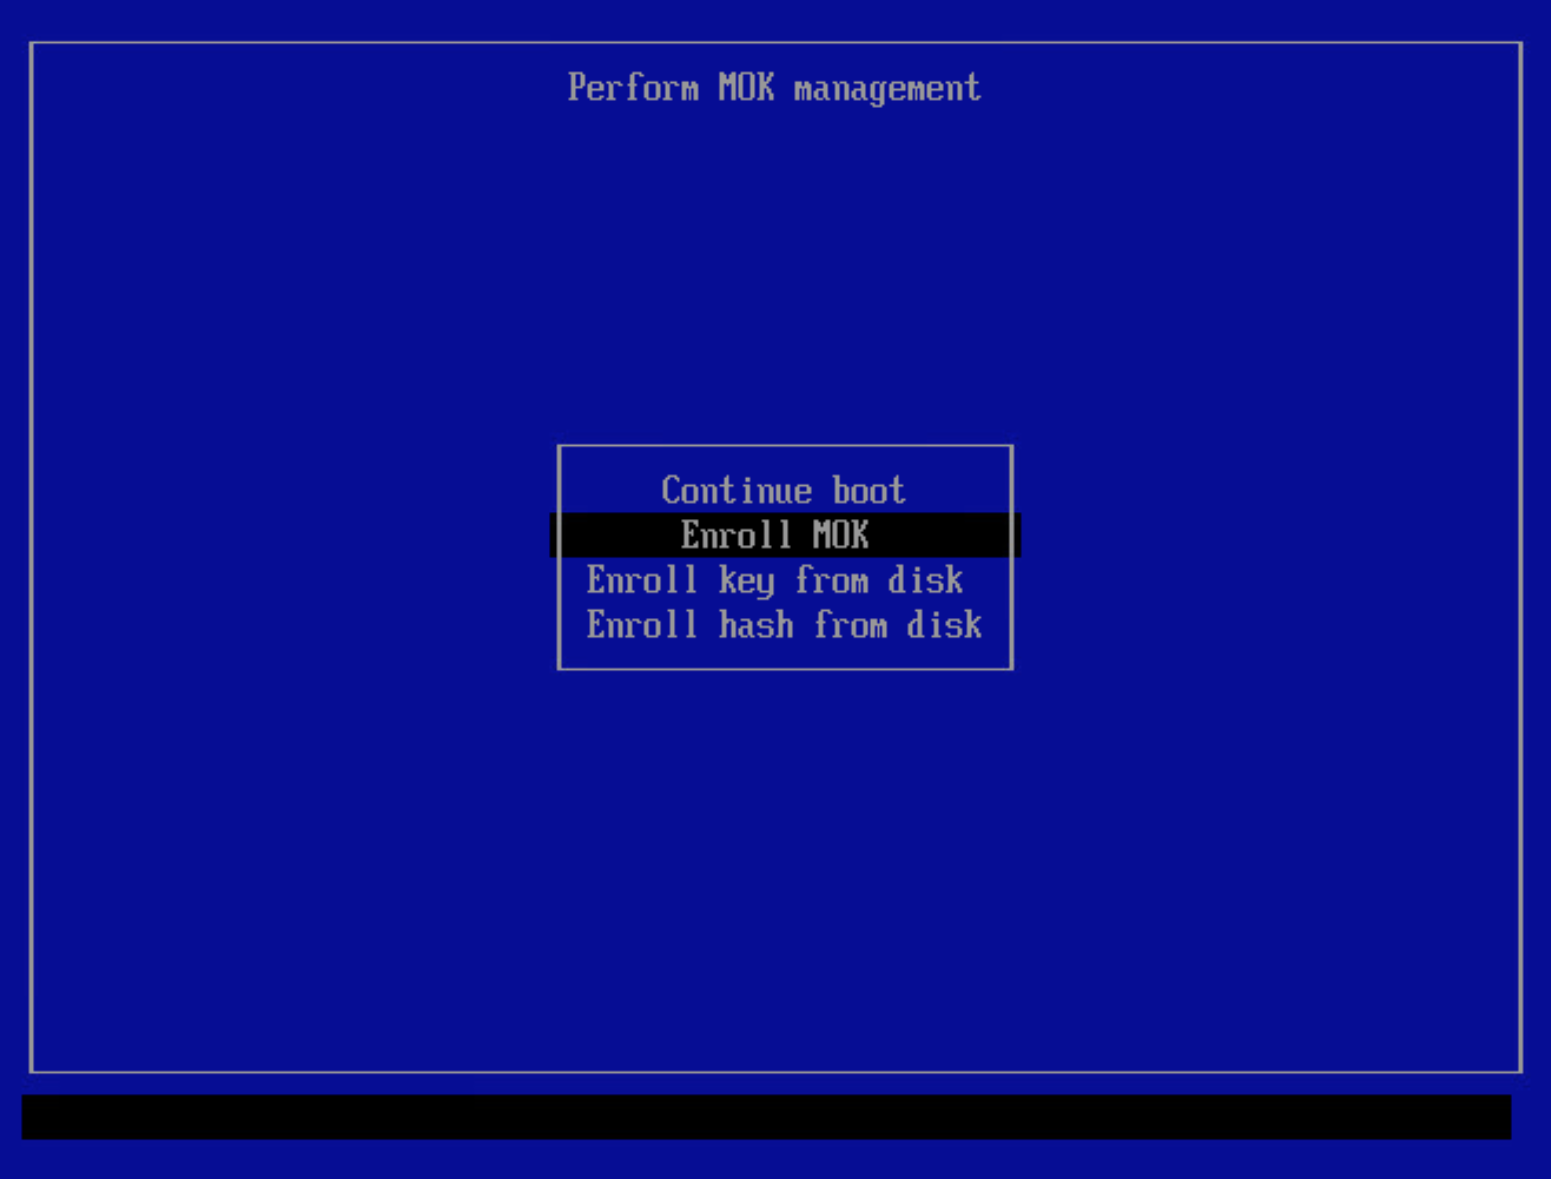
Note: all 64bit versions support Secure Boot.
Some people report that the ISO images won’t boot when copied (using ‘cp’ or ‘dd’ for instance) to a USB stick but they all boot properly if you use the ‘iso2usb.sh‘ script provided with liveslak to transfer the ISO content to a USB stick. Of course, this will give you nice persistent storage of all your modifications with optional data encryption, ideal for a secure on-the-road Slackware environment.
Get liveslak sources
The liveslak project is hosted in git. Its browsable cgit interface is here: https://git.liveslak.org/liveslak/
A set of the liveslak scripts can also be downloaded from http://www.slackware.com/~alien/liveslak/ or https://slackware.nl/people/alien/liveslak/
Remember Secure Boot
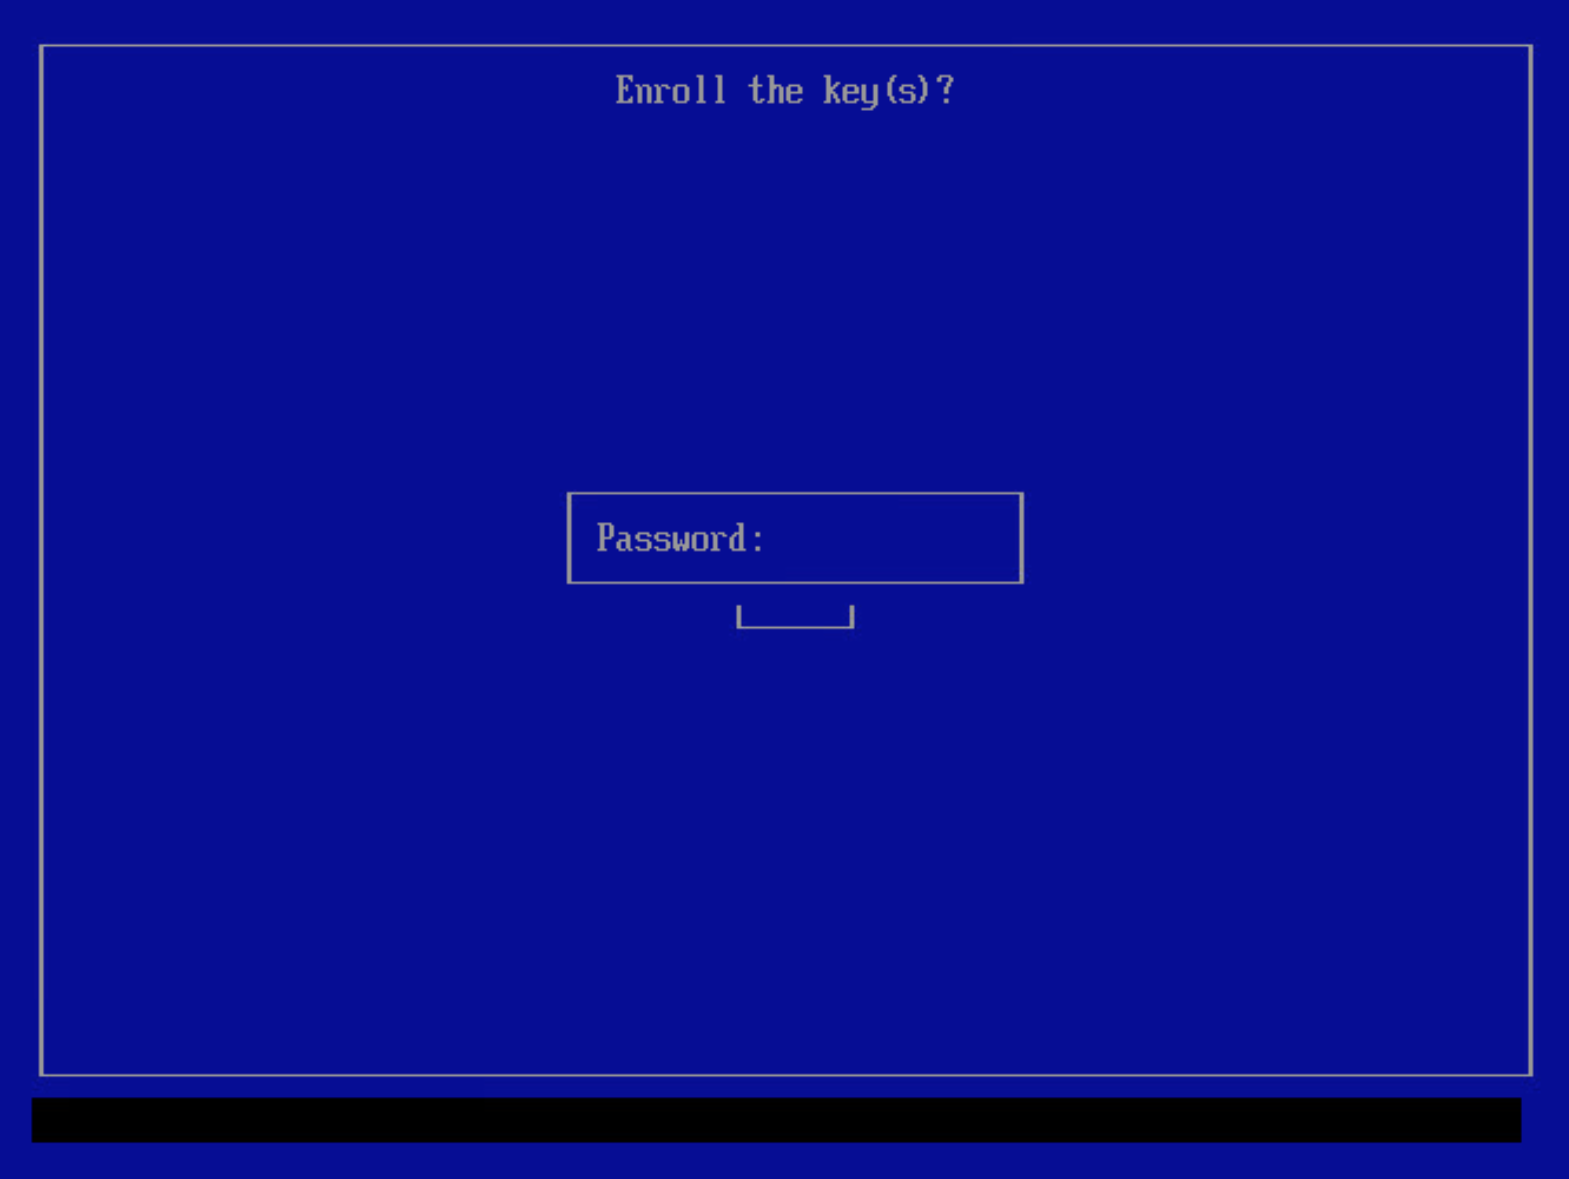
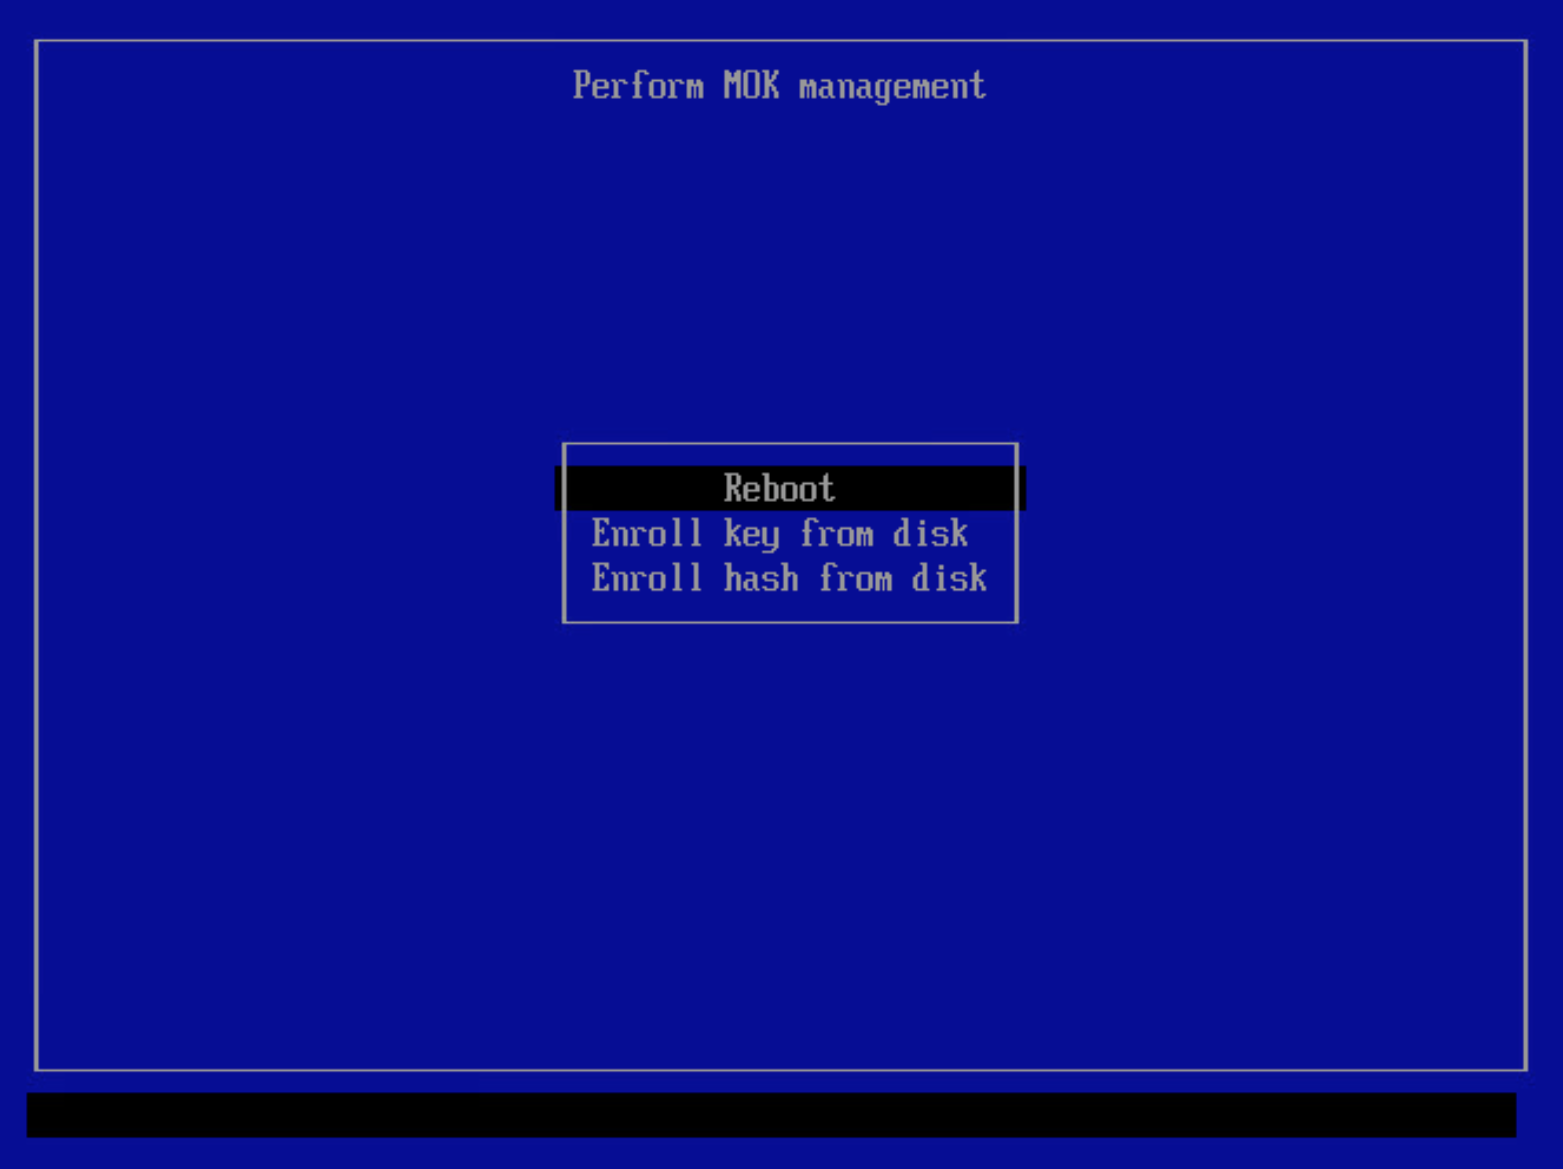
All 64bit ISOs are able to boot on a computer with SecureBoot enabled. You’ll need to enroll the liveslak public key (a SSL certificate in DER encoding format with the filename ‘liveslak.der‘) into such a computer during the very first boot. That certificate file can be found in the EFI partition inside the ISO image or on the USB stick you produced. It can also be downloaded from https://download.liveslak.org/secureboot/liveslak.der if you want. This DER certificate does not change when new ISO’s are released, so an updated ISO should boot normally on your SecureBoot-enabled system using the stored version of the ‘liveslak.der’ certificate which you enrolled in the past.
Cheers, Eric


 It’s that time again for a fresh batch of ISOs for Slackware Live Edition.
 The previous batch of ISOs for Slackware Live Edition is already a few months old, so I decided to generate new images.
Recent comments